This post contains affiliate links (I get a commission at no extra cost to you for purchases made through links in this post).
Although your RV’s roof is important, you may neglect it sometimes, which could lead to problems that could make camping less enjoyable. So, how do you take care of an RV roof?
You can take care of an RV roof by maintaining it regularly. This includes cleaning, looking for leaks, and repairing and resealing your RV’s roof. You can also avoid parking it under trees, take care when walking on the roof, and cover it when not in use.
In this article, I’ll discuss the maintenance you should perform on your RV roof and other ways of taking care of it. I’ll also discuss how often you should clean the RV roof, look for leaks, or reseal it.
What Maintenance Should You Do to Your RV Roof?
The maintenance you should do to your RV roof includes cleaning, looking for leaks, and repairing and resealing the roof as needed.
Your RV roof is most likely made of one of the following materials:
- Aluminum RV roof: It’s a sturdy metal roof that can last a long time. Nonetheless, you should check its seams and vents for damage. Since it’s made of metal, corrosion will be a likely issue.
- Fiberglass RV roof: This roof is made of a mixture of glass fibers and synthetic materials. It’s fairly durable, but it can be vulnerable to heat, and form splits under immense heat.
- Rubber Ethylene Propylene Diene Monomer (EPDM) RV roof: It’s a membrane type of rubber ideal for flat RV roofs. An EPDM RV roof doesn’t dent or scratch easily but can easily get punctured.
It could also be made made of TPO rubber, vinyl (PVC), or galvanized metal, but that is only rare cases; anyhow, if you want to learn more about the different roof types and how you can tell them apart as well as what kind of products you actually can use on each roof type check this article out!
No matter the type of roof your RV has, it will experience a buildup of the following:
- Grime
- Leaves
- Tree sap
- Pine needles
- Dust
- Debris
- Droppings
- Mold
- Mildew
- Stains
All of these can cause issues with your RV roof that, when left unchecked, will necessitate costly repairs.
How Often Should You Clean Your RV Roof?
In general, you should clean your RV roof at least twice per year, and I recommend doing it every 3 months even. However, the frequency depends on how often you travel, where you travel, and where you park your RV.
For instance, if you travel full-time, you may need to clean your RV roof every quarter. On the other hand, if you travel part-time or only on weekends, a biannual cleaning job will do.
Why You Need To Clean Your RV Roof Regularly
There are a few reasons you should clean your RV roof, as recommended above.
- Your roof will last longer. When your roof is covered in debris, and that debris interferes in any way with its functioning, your roof will deteriorate faster than if you clean it regularly.
- You will save money. Because your roof lasts longer, you’re less likely to sink a ton of money into costly repairs.
- Your roof will look better. Even if you don’t care about aesthetics that much, it’s nice to know that your RV roof doesn’t look like a bird’s nest.
How To Clean Your RV Roof
As I mentioned earlier, RV roofs are of different types. Some are made of EPDM rubber, TPO rubber, fiberglass, aluminum, vinyl, or galvanized metal.
Before cleaning your RV roof, it’s best to know the material so you can use the ideal cleaning products, as many specialized RV roof cleaning products are only to be used on a certain roof type.
You might be thinking that you can use Dawn or a similar detergent to clean your RV roof when in fact that is one of the worst things you can do!
As Dawn is petroleum-based, it will remove your roof’s protective coating or wax! Learn more about why not to use Dawn or petroleum-based products here in my other article.
Instead, if you are looking for an all-purpose cleaner that you might have at home already, you can use Simple Green (Amazon affiliate link) instead! That is safe to use on your RV roof; more on that and how to use simple green you can find here.
Here’s how to clean your RV roof regardless of the type of material it’s made of:
Materials
- A bucket
- A broom
- A soft or medium bristle brush
- A water hose
- Cleaning product compatible with your roof type or Simple Green
Steps
- Put water in the bucket, add cleaning solution, and mix well.
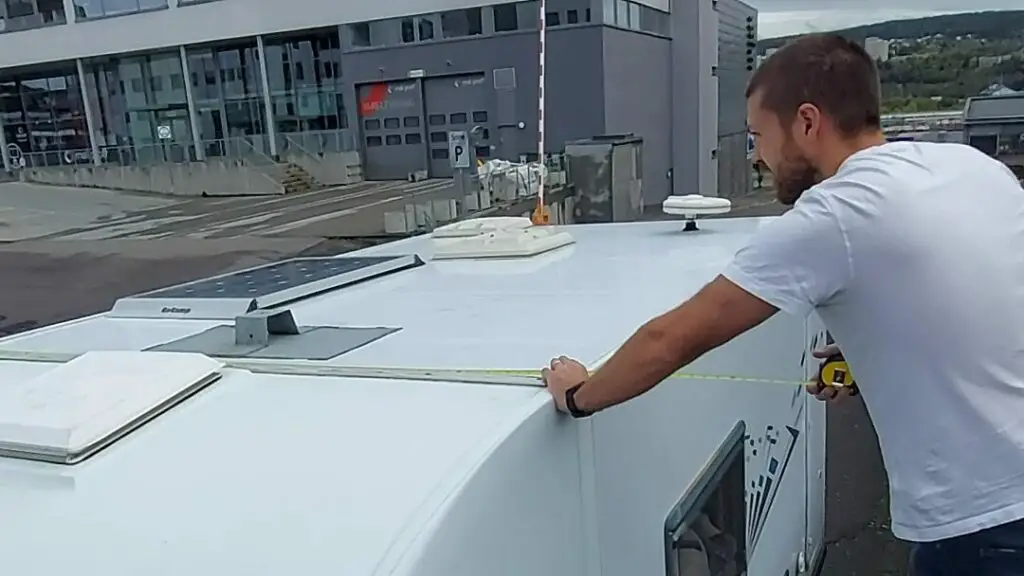
- Use a ladder to access the RV’s roof. Make sure you’re careful to avoid falling. Wear shoes that have a good grip, and make sure your posture while walking allows you to keep a decent balance.
- Sweep the RV roof using the broom to remove loose dirt, dust, leaves, and debris.
- Spray down the RV roof using the water hose.
- Apply the cleaning solution to a small roof section using the soft bristle brush. It’s best to work in sections of about three-foot squares to make your work easier.
- Scrub the roof gently using the soft bristle brush to remove grime, stains, or residue.
- Use the water hose to rinse the section you’ve cleaned.
- Clean and rinse the other sections of the roof as outlined above.
- Rinse the entire RV roof and the sides using the water hose to ensure there’s no soap residue.
- Allow the RV roof to dry thoroughly. You may leave it for a few hours or so before you proceed with repairs.
How Often Should You Look for Leaks on the RV Roof?
You should look for leaks or cracks on the RV’s roof at least twice a year. Alternatively, you can look for leaks whenever you clean the RV roof. Your RV’s roof can get cracks and holes for various reasons – if these go unchecked, they can damage the exterior and interior of your RV.
For instance, the areas around the RV’s roof components are more susceptible to leaks than others. That’s because these components are attached to the roof using sealants or screws. When the bond of the sealant wears down or the screws loosen, water can pass through.
Some RV roof components where water can pass through include the hatches, vents, and aerials.
When checking for leaks on an RV roof, you should check for the following:
- Faulty sealant: Over time, the sealant wears down, causing the bond to pull away from the seams of the components and creating spaces where water can leak through.
- Loose/faulty screws: Screws loosen over time due to wear and tear. When this happens, your RV roof becomes more susceptible to leaks.
- Accidental damage: Sometimes, the RV roof gets dents, cracks, and tears from falling tree branches, heavy debris, snow, or road vibration and movement.
Why You Should Repair Leaks on Your RV Roof
If you take time to patch up the leaks on your RV roof, you can prevent issues such as:
- Drafts: When there’s a draft, your RV can become extremely cold. A draft can also lead to high energy bills as the heating system works harder to heat the RV.
- Water damage: Not only will the water seeping through leaks damage items in the RV, but it can also cause mold and mildew.
How To Repair Leaks on Your RV Roof
Suppose you find leaks as you inspect your RV roof. In that case, it’s best to repair them immediately before they deteriorate and cause untold damage to your RV.
The best method to repair leaks on your RV roof depends on its type. Below is how to repair leaks on different types of RV roofs:
How To Repair Leaks on an EPDM Rubber RV Roof
To fix leaks on an EPDM rubber RV roof:
- Use the RV’s ladder to access the roof. If your RV doesn’t have a ladder, use another ladder.
- Take care as you clean the roof since a wet roof can be pretty slippery.
- Gently scrape off any loose sealant on the RV roof so the new application can look neat and nice.
- Clean the RV roof by sweeping away any debris. Also, this step makes repairing the roof easier.
- Allow the roof to dry entirely before repairing it. Many RV leak repair sealants might not work properly on a wet roof.
- Use a well-tested and highly-rated product to avoid the need to redo the work soon. You can read about what kind of sealants RV manufacturers use and recommend in this article; hint the Dicor lap-sealants or SikaFlex adhesive sealant are both my favorites, as well as many, many others.
How To Repair Leaks on a Fiberglass RV Roof
Although a fiberglass RV roof is usually durable, installations on the roof can affect its integrity, leading to minor leaks around the seams.
Here’s how to repair leaks on a fiberglass RV roof:
- Access the RV’s roof using a ladder, and take care to avoid falls.
- Scrape out any loose sealant around the area of the roof you want to repair.
- Clean the RV roof and allow it to dry thoroughly.
- Use an effective product such as Dicor lap sealant self-leveling or non-leveling (available on Amazon.com); the first one is for use on a horizontal surface as it will float/ spread out nicely and evenly by itself, whereas the non-leveling is made for vertical surface as it stays put. You need to spread it out yourself.
- For best results, allow the sealant to dry completely before hitting the road. Usually, it should be good after 24-48 hours, but this may vary.
How To Repair Leaks on an Aluminum RV Roof
If your roof is made of aluminum, here’s how to fix it:
- Scrape off any loose sealant around the area to be repaired.
- Clear the roof of debris to make the repair job easier.
- Use an effective product such as the SikaFlex adhesive sealant or Dicor lap sealant to repair the RV’s roof.
How Often Should You Reseal Your RV Roof?
You should reseal your RV roof at least once a year. No matter how well-kept your roof is, it is inevitable that the sealant will wear down over time. Of course, there are also circumstances that warrant immediate resealing, such as cracks due to fallen branches.
When I talk about resealing it every year, it is not complete reseal and recoating, im suggesting, but rather getting up there after you have cleaned the roof with your sealant of choice and resealing a few cracks or where it looks like it is needed.
When the sealant everywhere starts to loosen and look bad over a large area, usually, after a couple of years, you remove that sealant and apply new. And when your whole roof is starting to deteriorate or look bad, you can think about recoating it, basically repaint it with a thick protective paint made for it, such as liquid rubber, flex seal, or some of Dicors roof coatings.
Remember that if you have an aluminum or metal roof, an elastomeric coating is usually one of the best options, and depending on your roof type, maybe you won’t be able to use the type of coating you had planned. So remember to check out this article about the different roof types, how to tell them apart, and what products go well with them.
Below are some of the best products from Amazon.com for recoating your RV’s roof, including what type of RV roofs they are compatible with.
| Product with Amazon Affiliate Link | Aluminum | EPDM | TPO | Vinyl | Fiberglass | Galvanized Metal |
|---|---|---|---|---|---|---|
| Liquid Rubber RV Roof Coating | YES | YES | YES | YES | YES | YES |
| Dicor Fiberglass RV Roof Coating | NO | NO | NO | NO | YES | NO |
| AMES Maximum Stretch Roof Coating | YES | YES | NO | NO | NO | YES |
Why You Should Regularly Reseal Your Roof
You should regularly reseal your RV roof to:
- Improve insulation: Some RV roof coatings have reflective properties that keep the RV cooler in summer.
- Improve the roof’s aesthetics: A new coat of roof sealant makes your RV look neat and smart.
- Prevent water damage: RV roof sealants typically have the ability to resist water, and resealing further reinforces this capability.
Take care of your roof! Postpone that water damage as long as possible! I know it is one of the worst nightmares of RV owners as it is a big job of repairing water-damaged RVs, so do the maintenance well!
Other Ways To Take Care of Your RV Roof
Avoid Parking Under Trees
When camping, it’s best to avoid parking the RV under trees. Tree branches can fall on the RV’s roof during highly windy weather or storms and damage it. In addition, low-hanging branches can scratch the RV roof, necessitating unwanted and expensive repairs.
Take Care When Walking on the RV Roof
Once in a while, you may need to walk on the RV’s roof to clean, check for leaks, carry out some repairs, or reseal the roof. If you’re not careful, however, you can inevitably cause more damage, such as dents, cracks, and tears.
So, when you’re walking on the roof, you need to:
- Ensure the RV’s roof can accommodate your weight.
- Spread your weight by laying some plywood planks in the middle of the RV roof before walking on it.
- Avoid walking on the weakest areas, such as vents, hatches, and ACs.
More about how much weight an RV roof can withstand and when you should think twice before getting up there in this article of mine.
Cover the RV When Not in Use
Covering your RV helps protect it from the elements. For instance, you could use this highly rated RV cover (available on Amazon.com) to cover your RV. It is made out of breathable materials and could also be used while storing the RV outside during winter times or maybe you want to explore some other options for that.
Conclusion
Fortunately, you don’t have to spend a fortune on RV roof maintenance. As long as you remember to clean, check for leaks, and reseal your roof regularly, you don’t have to worry about having to ask a professional for help due to serious issues.