This post contains affiliate links (I get a commission at no extra cost to you for purchases made through links in this post).
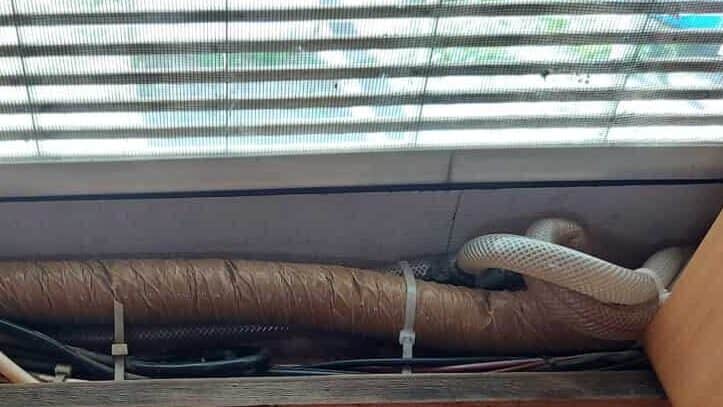
When you originally checked the forecast, you knew it would be cold, but you had underestimated just how cold. Unfortunately, your RV pipes are frozen. You need to thaw them out, but how long will that take?
You can unfreeze RV pipes in between 30 minutes to 12 hours, depending on what you use to thaw them. Heating blankets, heat tape, or a heat gun can all reduce the cold pipe temperatures. Be sure to check for leaks after you’ve thawed your pipes, as freezing and unfreezing puts strain on the pipes.
I know, I know, it doesn’t take long for your pipes to freeze, but thawing them out sure can be an ordeal. Keep reading for more information to help you successfully unfreeze your pipes!
How Long Will I Wait for My RV Pipes to Unfreeze?
Mother Nature deserves her due! You might recall that your pipes can freeze overnight if it gets really cold even though you are running the heater in your motorhome, which I wrote about here, if the temperatures are down to the single digits (in Fahrenheit; that’s negative degrees Celsius!).
Now comes the natural follow-up question, how long will it take to unfreeze RV pipes?
The amount of time you’ll spend thawing your motorhome, RV, or caravan pipes varies but expect that the job could take upwards of 12 hours.
It all depends on how you go about it.
Should you decide to let Mother Nature take her course and wait for the pipes to thaw out on their own, then depending on the forecast, you could be waiting hours to days or possibly even longer.
If you’d instead take a more proactive approach and thaw the pipes yourself, then you can get the job done in as little as a few hours. It could also take you the aforementioned 12 hours since there are so many ways to defrost cold pipes!
Your Methods for Unfreezing RV Pipes
If you read my article on frozen RV water pumps, you should recall that you can thaw frozen components of your motorhome using plenty of methods.
Some of the methods I talked about in that article come in handy for pipes, and others don’t. Without further ado, let’s go over your options.
Start The Original RV Heating System
The first thing you should do is start your heating system; if you have it on already, crank up the temperature and let that heating system work hard!
As you can see in the picture below from my RV, where the beige duct is going near the water pipes, this duct is leading heat from the original heater and spreads it out heavenly throughout the RV and is not so well insulated. Often it is nearby the water pipes to help keep those from freezing.
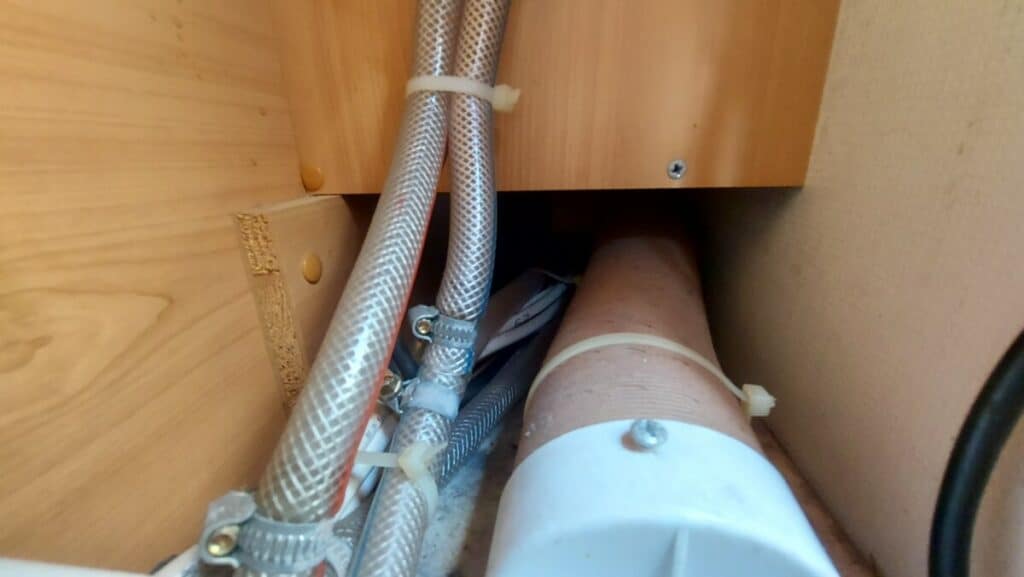
By cranking up your RV furnace, you will increase the heat in this duct, and that will then help unfreeze the frozen pipe
Pour Boiling Water Down the Drain
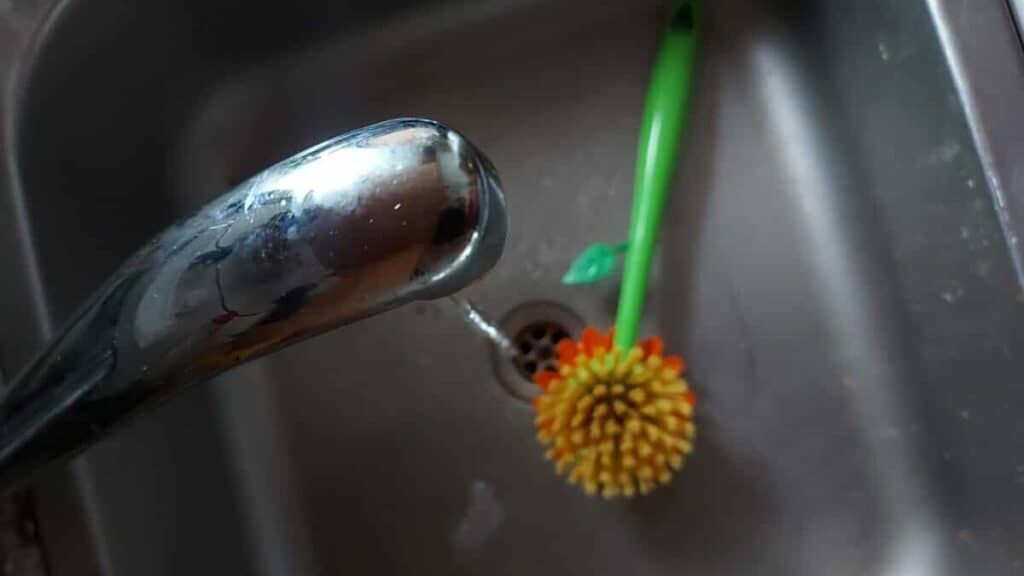
If you can trace where your frozen pipes are, then you can see if you have some drain pipes that are going nearby the frozen water pipe, for example when my pipe froze, it always froze in the same place, and my kitchen sink drain pipe was going next to the frozen pipe.
In the picture below, you can see the black pipe, which is the drain pipe that goes from the kitchen sink to the grey tank. This one got really warm when I poured boiling water down there, and as you can see, the water pipes that can easily freeze are going right next to it.
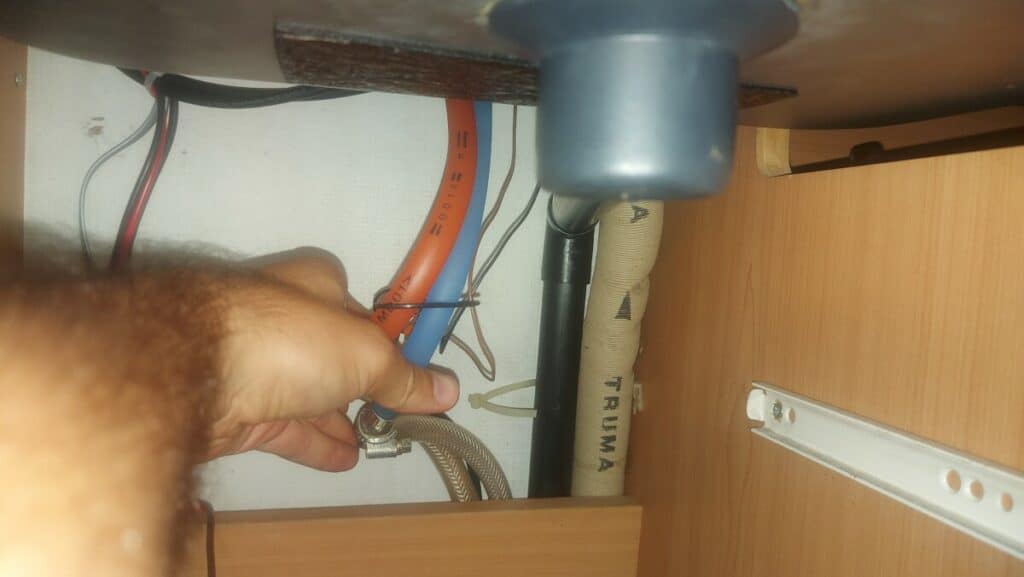
So when I poured down boiling water down the kitchen sink, that water went down the drain to the grey water tank, but on its way, it heated the whole drain pipe, which was right next to the frozen pipe, and it helped to thaw it faster since this was an extra heat source.
Those first two options will, in most cases, be enough and might take you 1-4 hours to unfreeze the pipes most times; this will be sufficient, but if you need to thaw the pipes even faster, there are more ways to do that below.
Use a Heat Gun
I lauded heat guns in the article I linked you to above about unfreezing your RV water pump, and I want to heap some praise on them again.
If you regularly camp out in frigid temperatures, a heat gun is worth having. That’s not to say I advocate for letting various components of your motorhome freeze or even get close to that point, but a heat gun is there for you in a pinch.
Most heat guns plug in, but others run on batteries and are cordless, so you can pass on wrangling with the extension cords outside in the cold temperatures.
A heat gun is more efficient than a hairdryer or blow dryer for thawing pipes, but the job will still take you some time to get done; if it is only one small part of the pipe that is frozen, it might just be 10 minutes, but if it’s more places it can take some time.
If you can’t access the pipe from within your RV via hatches or other ways, you might only be able to reach it from the outside and, being outside in the cold, aiming the heat gun concertedly toward the frozen pipes. If that doesn’t sound fun, that’s because it isn’t.
Adhere RV Heat Tape
Another option at your disposal is RV heat tape.
I’m sure the name conjures an image to mind, but heat tape isn’t truly tape. Instead, it’s a cable and insulation.
To use RV heat tape, wrap the tape around your frozen pipes. The cable within the tape will gauge the ambient temperature and then begin insulating the pipes if they’re too cold.
To warm up the pipes, the heat tape includes a series of conductors that can generate a current and create warmth.
As soon as your motorhome’s pipes are adequately thawed, the cable will tell the currents to lessen, so the heat tape doesn’t needlessly waste energy.
You will need to hook up the RV heat tape to a source of electricity in your motorhome, but once you’re all set up, your pipes should be thawed sooner than later.
You can also count on RV heat tape to prevent frozen pipes, so it’s good to have!
Use a Heating Blanket
A heat blanket is another excellent option for increasing the temperature of frozen pipes.
It’s a lot easier to drape a blanket atop a frozen water tank than it is pipes. You’ll need a zip wire or adhesive tape (but not RV heat tape) to affix the blankets around the pipes.
From there, the pipes should begin thawing in a jiffy.
Don’t Forget to Check the Pipes!
Now that your pipes are finally unfrozen, this is a great time to inspect them for any visible cracks.
Even if you don’t see any, that doesn’t mean the cracks aren’t there! You’ll know once you begin using your water heater, as water will start dripping or even seeping out.
What NOT to Do When Unfreezing RV Pipes
I don’t want you to waste your time, so here are some methods for thawing motorhome pipes that you’re better off not doing.
Use a Hair Dryer
If it’s cold enough that the pipes froze, then it’s cold enough you don’t want to stand around with a hairdryer or blow dryer futilely, hoping to thaw your pipes quickly.
You’re better off with a heat gun. You won’t save that much more time compared to using a hairdryer, to reiterate, but you will get more concentrated heat.
Run a Space Heater
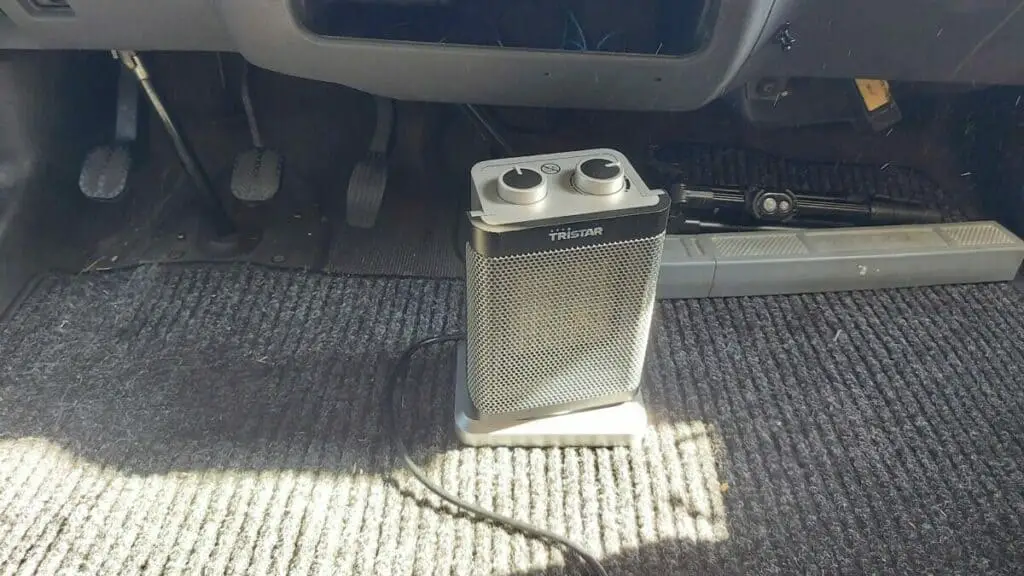
Is a space heater a valuable tool if you have to thaw a large portion of your RV, such as tanks and pumps? While placed underneath the RV with isolation on the sides, it gives you a heated area that can help with many things.
For just the pipes? I wouldn’t advise it since those in most cases won’t be affected by it.
But also, if you place a space heater inside your RV to increase the temperature inside, this won’t be a great option either since you want to get the heat towards the pipes, which the original heater does way better since it is built into the RV and spreads the heat evenly nearby the pipes as well.
Of course, if you don’t have a working heater with ducts nearby, the pipes sure, by all means, open up all cabinet doors and hatches and crank up the space heater instead!
Turn on the Water Pump
I know the first thing you’ll want to do when you spot frozen pipes is turn on your water pump, but that’s actually the last thing you should do.
Why is that?
If the pipes are frozen, the pump could be as well. Using the water pump when it’s frozen can damage or even break it.
Are Frozen RV Pipes Such a Big Deal?
Okay, so your RV pipes froze. Is this something you have to sweat much?
Maybe not if it happens once, but if it’s a frequent enough occurrence, then yes, absolutely!
When your motorhome’s pipes freeze, you can’t use running water. That means no shower, no sink, no washing dishes, no cooking, none of it. You can’t even get flowing potable water from the tap to drink.
Of course, depending on where the pipe froze and what faucets that frozen pipe will affect.
The expansion and contraction of the pipes as they freeze and thaw can also lead to the issue I talked about earlier, which is cracking throughout the pipes.
Damaged pipes are a lot likelier to burst. It’s expensive enough to replace the pipes, but if your RV is saturated in water, you’ll find that remediating water damage is even costlier still.
You could easily spend thousands, if not tens of thousands of dollars, to get your vehicle in livable shape again.
So yes, frozen pipes are a big deal. Do your best to insulate and keep your RV warm during the winter, so the pipes aren’t given the opportunity to freeze.
When the time comes to winterize your motorhome, give the pipes some love too. You don’t necessarily have to use antifreeze, which you can read about here, but you don’t want to leave the pipes unprotected all winter!
Conclusion
If a little bit of cold isn’t enough to stop you from camping, then know that wintertime excursions in your motorhome bring with them the risk of frozen pipes.
While thawing your pipes isn’t too challenging, the real risk is all the contracting and expanding of the pipes. That can cause your pipes to crack, so always check for leaks after unfreezing your pipes!
Most of the time, it will be enough to turn up the temperature of your RV furnace/heater and wait a couple of hours for your pipes to thaw.
