
This post contains affiliate links (I get a commission at no extra cost to you for purchases made through links in this post).
If you have decided to install a regular household refrigerator in your motorhome, caravan, or RV, you have come to the right place; here comes a step-by-step guide on how to do it in 9 easy steps.
1. Measure everything twice.

This step is crucial for a smooth install, so don’t take it lightly; it will save you a lot of time and sweat if you do this properly. I recommend sketching all the measurements to make it easier to visualize and see if you are missing something.
- Make sure you can get the old fridge out of the motorhome. Sometimes this requires removing a big window or even a doorframe, so ensure that you can get it out using a method that is within your capabilities.
- Make sure you can get the new fridge inside as well. If this requires extra space and work, like removing the doorframe or a window. I recommend removing the old fridge, putting in the new one on the same day, and checking the weather before.
- Measure the space you have for the new fridge and consider ventilation. Using the same space as the old fridge, you will probably already have some ventilation installed behind it. However, if you fit it into a new space, consider leaving some gaps behind the fridge and on the sides or installing proper ventilation for the fridge to function correctly.
- Measure the door and how it will swing when you open it. Do the door, first of all, have space to just open since the hinges will use some distance, and can you swing it open as you want to? Maybe the new fridge opens in the other direction. Will that be possible for your motorhome?
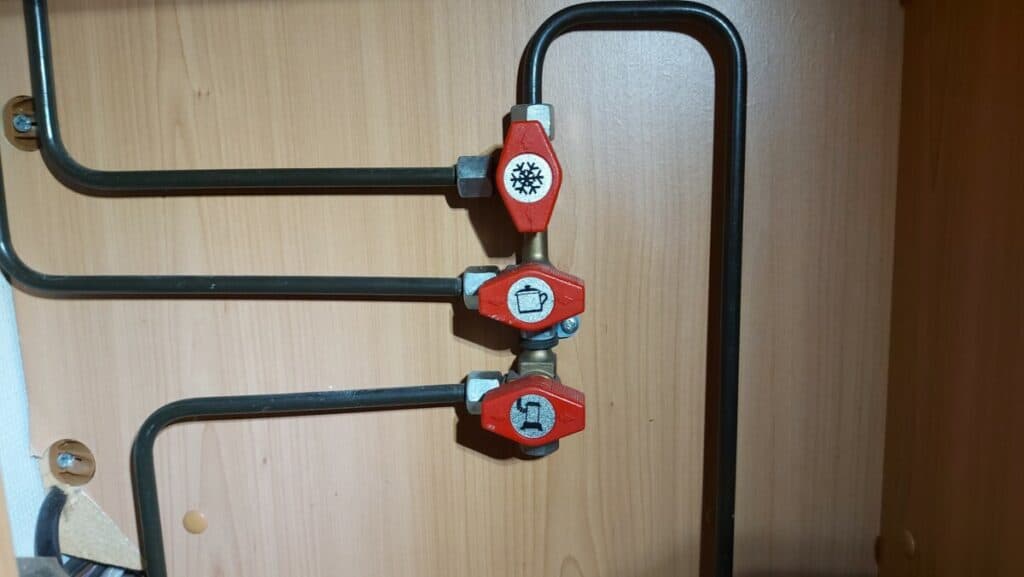
2. Turn off the propane and electricity. -essential for your SAFETY.

Turn off the gas flow directly by the bottles or propane tank and if you have another place to turn off the gas flow to just the fridge, turn this valve off as well.
Make sure you are not connected to “shore power,” so your high voltage connections do not work, and if you have an inverter with cables going near or under the fridge, turn this off too.
Turn off your 12-volt system if you do not need it for something else – the 12-volt is not as important as the high voltage system since those can give you a big shock if something happens while disconnecting the fridge.
3. Disconnect the old fridge
- Open up the ventilation holes to access the backside of your old fridge; this will give you access to the propane and electricity connections.
- Disconnect the propane line from your fridge and cap it so that it won’t leak from there when you use the propane for other things later.
- Disconnect the high voltage – 220 or 120-volt connections. If you need to cut any wires, isolate the ends properly.
- Disconnect the 12-volt connections of the fridge. If you need to cut any wires, isolate the ends properly.
Disconnect the propane line from your fridge and cap it so that it won’t leak from there when you use the propane later.
4. Remove the old fridge
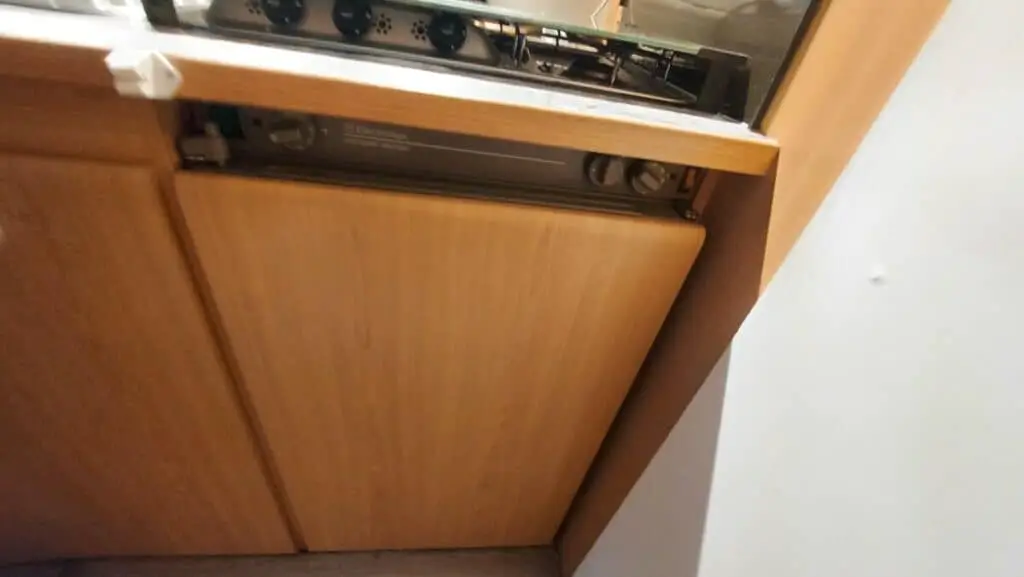
- The fridge will most likely be attached to the floor and walls in different locations to keep it in place. While you have access to the backside of your fridge, check if you can see any screws you need to remove to get the refrigerator loose.
- Remove the trimmings around the front of the fridge and look for more screws there as well as underneath the refrigerator and remove them as well. Sometimes, you must remove the fridge door to reach all screws.
- Prepare to pull out the fridge by laying out something to cover the floor to avoid damaging the floor, and take out drawers inside the refrigerator to prevent them from falling out. If you have the fridge door attached, lock it so it doesn’t swing open when you remove the fridge.
- Pull out the fridge and if it is still working and you want to sell it, use it for something or repair it; try to keep it upright the whole time and not lay it on the side since that can prevent the fridge from working correctly. But, again, being two people makes this way more manageable.
5. Prepare the space for the new fridge
Now you have a perfect opportunity to clean the area where the old fridge was before putting in the new one and prepare the electrical connection for the new one. Then, take your time to draw new cables while you have plenty of space.
6. Install the new fridge

- Get help from someone to carry the fridge into the motorhome and put it in place.
- Connect the fridge to the “shore power” outlet or your inverter.
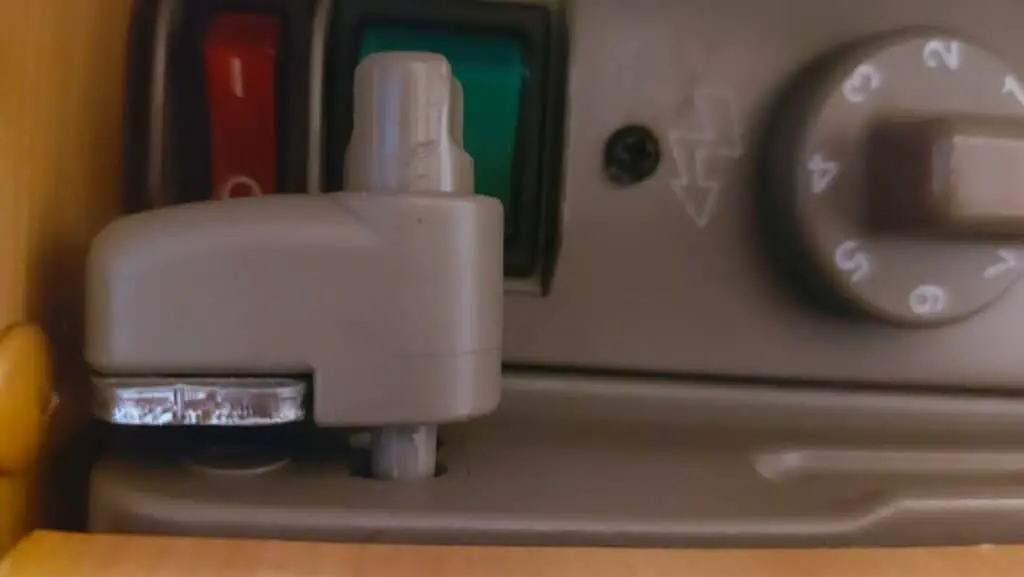
- Put on your electricity and start the fridge to ensure it works correctly.
- If everything works well, turn off your electricity again.
7. Secure the new fridge
Make sure you secure the new fridge so it won’t move around when you are driving on bumpy roads, get inspiration from how your old fridge was secured. You need to get creative if there are no prominent places where you can screw your fridge into the flooring or the walls.
Maybe you can take the brackets from the old fridge and use those to secure the new one, or perhaps make your brackets to keep the refrigerator in place. Just be careful so you don’t screw into something you are not supposed to. Using too-long screws and going through a wall into some other wires is not the funniest experience, so check the length of the screws and what’s on the other side an extra time.
8. Put back trimmings and make adjustments
Now it will probably be time for some carpenter work since I assume you didn’t find a fridge that had the perfect measurements, but dont worry, now you can put back the trimmings or make your own to cover up any gaps you don’t want to see to make it look like new again.
9. Install a door lock and clean up.
Don’t forget to make a door lock to keep the new fridge from opening while driving.
Put back the ventilation covers and clean up.
Put on the electricity and enjoy your new fridge!