
This post contains affiliate links (I get a commission at no extra cost to you for purchases made through links in this post).
If you own an RV, resealing the roof is one of the things you need to do now and then. Since there are different types of RV roofs, do they each require a different resealing approach?
There are differences in resealing different RV roof types depending on their material. Each roof type — aluminum, fiberglass, vinyl, rubber TPO and EPDM — will require sealants and procedures that best suit each material.
In this article, I’ll go into further detail on resealing the different RV roof types.
How to Reseal Different RV Roof Types
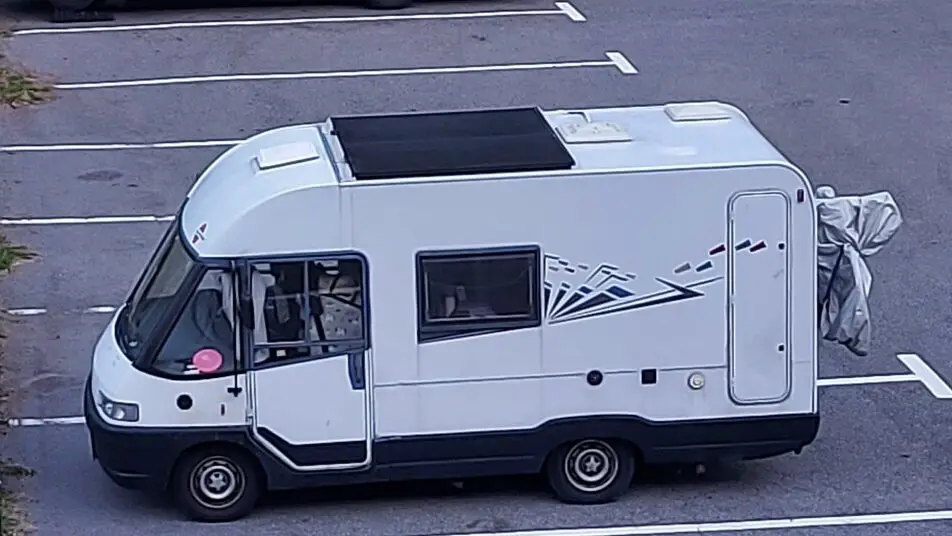
Metal (Aluminum) RV Roof
If you have an older RV, just like me, chances are it still has a metal roof. To reseal this type of RV roof, take the following steps:
- Clean out loose old sealant and other debris. The best tool for this is a hand scrapper. You don’t need to remove all the sealant — just the ones that look like they’re about to fall off.
- Once done with removing the debris and loose sealants, clean the area with a damp rag and soap. Don’t forget to clean the nooks and crannies as well. Also, avoid petroleum-based cleaning products as they might make it difficult for the sealant to adhere. (like WD-40 or gasoline)
- Coat the areas you cleaned with an elastomeric sealant. You can also coat the whole roof if your budget allows it. At any rate, make sure the sealant is compatible with metal roofs.
- After coating or sealing the affected areas, give it 24 to 48 hours to dry. However, if leakage is also an issue, you may be better off with seam tape instead. An excellent product for patching a small area is the EternaBond RoofSeal (available on Amazon.com). It’s durable and waterproof, making it ideal for this fix.
On the other hand, if you are looking to reseal the seams on this type of roof and not give it a new coat, you can use most adhesive RV roof sealants like Geocell Pro Flex RV sealant or Sikaflex, or if you want to go with a self-leveling lap sealant, Dicor is one of the most popular brands.
This is very similar to resealing a fiberglass roof, except you need to choose different types of coatings for each material.
Vinyl (PVC) Roof
Vinyl (PVC) roofs are generally low maintenance. However, they may suffer from cracks, punctures, or leaks at the joints.
To fix these issues, take the following steps:
- Get a PVC roof repair kit.
- Clean the areas to be repaired.
- Using a sanding paper or block of about 80-grit, scrub the area you cleaned to give it some texture. This will make it easier for the seam tape to stick.
- Clean any debris from the sanding paper or block with a clean cloth.
- Apply the primer over the area you cleaned and sanded per the instructions included with the primer.
- Once the primer dries, cut out enough seam tape from the repair kit to cover the affected area.
- Place the tape and smoothen it outward from the center to the different sides. Ensure that the tape completely covers the area, extending at least 4 to 8 inches (10 to 20 cm) on each of its sides. You can use a seam roller to ensure that the tape sticks smoothly. Don’t forget to roll out any air bubbles; otherwise, the tape won’t stick evenly.
Fiberglass Roof
Some high-end RVs have fiberglass roofs, which are relatively durable. After a while, though, the roof’s surface may appear chalky and flaky. Fortunately, that’s not due to the fiberglass itself but the protective coating over it.
You can use a self-leveling sealant or an adhesive sealant for seams or around hatches, although to put on a new coat over the large and flat roof surface, you will need a liquid canned sealant to reseal your fiberglass roof.
To reseal your RV’s fiberglass roof with a self-leveling sealant:
- Carefully remove the chalky and flaky surface of the roof with a hand scrapper. Again, be careful not to chip into the areas that aren’t chalky or flaky.
- Use medium-grit sandpaper to smoothen the entire surface. The sandpaper will also make the surface abrasive enough to help the protective coating stick.
- Clean the surface with a damp cloth to remove any leftover debris. Luckily, you don’t need to use soap or the like at this stage.
- Using a caulking gun, apply the sealant around the places where leaks are most likely to enter. In case there are any areas where the caulking gun can’t enter, you can use a smaller tool to apply the sealant.
If you want to recoat and reseal your fiberglass RV roof at the same time, you can use a canned sealant. You can follow steps 1 to 3 above, then use a paint roller or brush to apply the canned sealant. Cover as much of the roof as you can. Cover the hard-to-reach nooks and crannies as well.
Rubber Roof (EPDM or TPO)
Both EPDM and TPO rubber roofs are fairly durable. However, the roof will begin to have a chalky appearance after you’ve used the RV for a while. Similar to the fiberglass roof, the chalky appearance comes from the protective coating rather than the rubber itself.
There are two possible treatments your rubber RV roof may require:
- Resealing around the seams and joints: You need to do this regularly as a preventive measure.
- Recoating: You should do this the moment you notice that chalky appearance on your roof. Otherwise, the rubber material will be broken down by ultraviolet rays, leaving you with a leaky roof that will require an expensive replacement.
Resealing Rubber (EPDM or TPO) RV Roofs
To reseal your rubber RV roof, take the following steps:
- Remove any loose or broken piece of sealant. In this case, you don’t want to use a hand scrapper because it’ll be too rough on the protective coating.
- After removing the loose pieces, clean the area with a wet rag and leave it to dry. In this case, you don’t need to use any extra cleaning agents like soap because they risk damaging the material.
- Once the areas that require sealing have dried, you can apply the self-leveling sealant with a caulking gun. If there are any places the caulking gun can’t get into, use a gloved finger instead.
The exact steps for resealing your rubber roof with a canned sealant may vary depending on your chosen product, so read the enclosed instructions carefully.
Conclusion
There’s no one-size-fits-all solution for resealing RV roofs. Before you start any resealing project on your RV roof, whether to ensure your RV is warm during winter or to fix some leaks, make sure you use the right sealant according to the material of your roof.
You can, in most cases, put on a new coat of a liquid canned sealant, similar to painting over large roof surfaces but when it comes to the seams or around hatches you will in most cases want to use an adhesive sealant or a lap sealant.
Sources
- Campers Mart
- RVshare
- SFGATE
- Outdoorsy
- VEHQ.com